
As we continue to work with customers and listen to feedback, we are constantly enhancing the nativeMsg platform to meet the needs of our users. We have launched a number of upgrades in recent weeks. Here is an overview of these features. Please let us know if you have any questions or feedback.
Versions
You will see a new button at the top of the Bots page that allows you to better manage different versions of your bots. You have the ability to tag and label a version of your bot at any point in time. This gives you the freedom to revert back to a previous version or publish that enhancement to your live bots without losing your current development work.

Click on the new Versions button. If you have made any updates to your bot, your bot version will be “Latest”. Click on the “Tag your current Version at this point in time” to label and save this version. If you have published your bot live, there will be a Published Version to access the current live version.
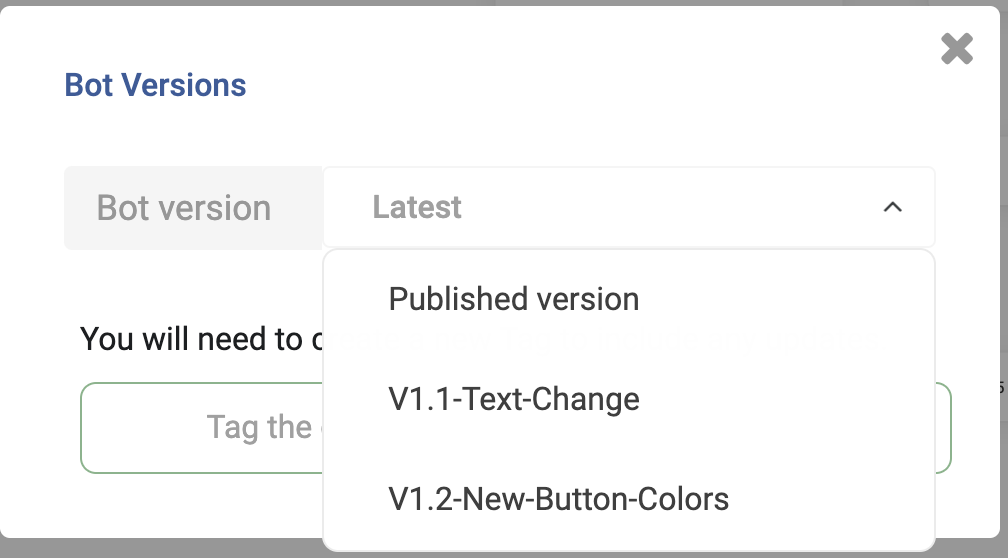
At any point in time, you can access your saved version by selecting the desired version. The bot interface will update with the selected instance.
Publish
We have made it easier to have a working copy of your bot and have a live bot deployed in production. We have added a green Publish button in the top right corner of the Bots page. When you are ready to push your changes live, press the Publish button, and confirm Yes to proceed.
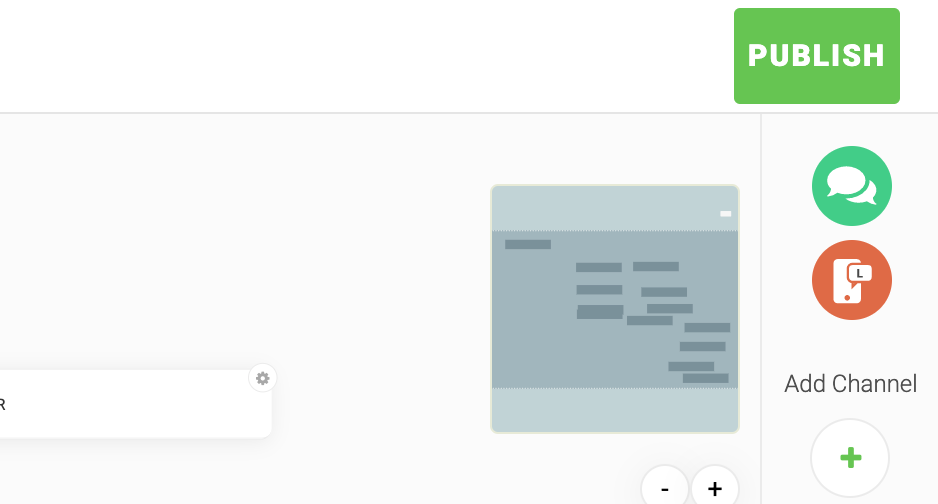
This update along with the versioning makes it much simpler to manage your development efforts and launch the appropriate updates.
Test Request Action
Inside the Request action, you now have the ability to test API calls and see the response. Previously, this had to be done outside the system using a separate app or command-line call.
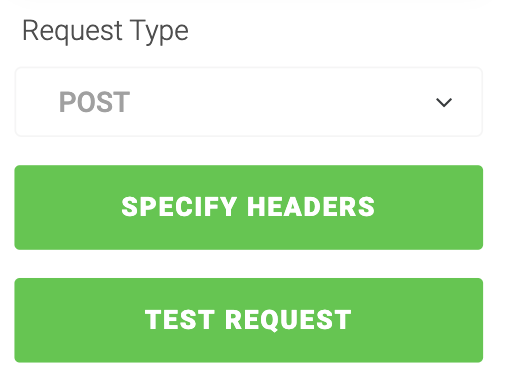
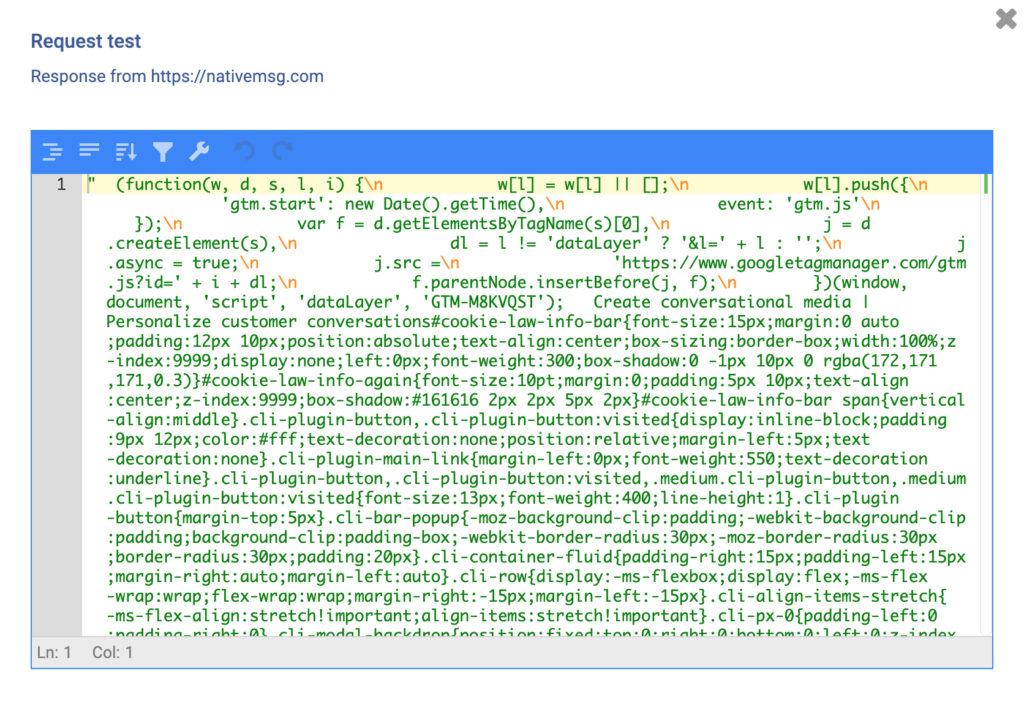
You can see what the HTTP call returns by the nativeMsg platform. Populate the fields of the Request action and click the Test Request button. You will receive a popup with the response from the call.
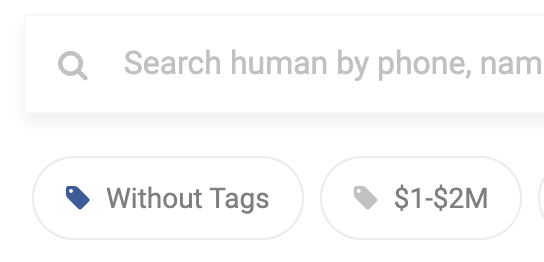
New Filter “Without Tags”
In Conversations, Blasts and Humans, you can now filter your data for records that are not associated with any Tags. This will allow you to quickly grab the lists of records not segmented or assigned to a tag.
Assign and Unassign All Filtered Humans and Conversations
If you ever what to filter for a segment and assign that group to a specific tag, we have made it much easier. First, filter for the desired set and then click the checkbox in the table header to select all records.
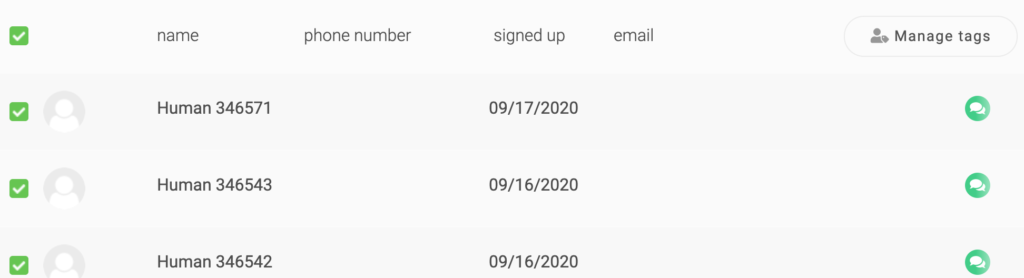
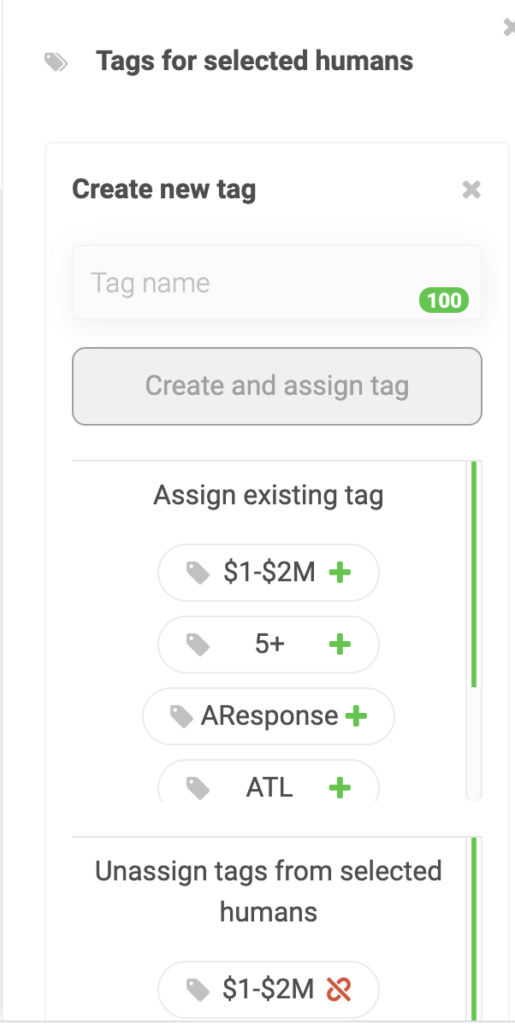
Next, click the Manage Tags button on the right side of the table header. This will display the Tags for Selected Humans window. Inside this window, you can Create, Assign or Unassign tags for the selected filtered list.
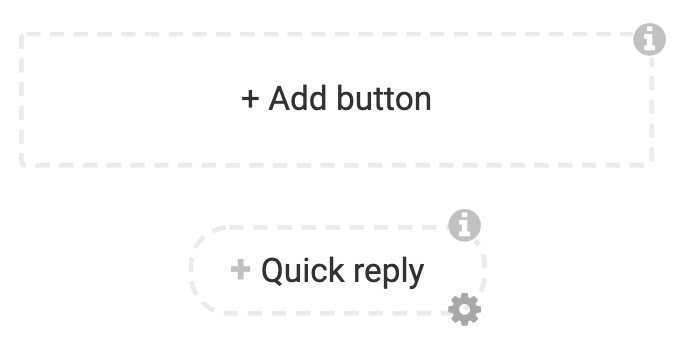
Multi-select Quick Replies
Long gone are the days of having to iterate through multiple quick replies only to have the ability to make a single selection. Long live the days of “Select all that apply” while staying on the same message action.
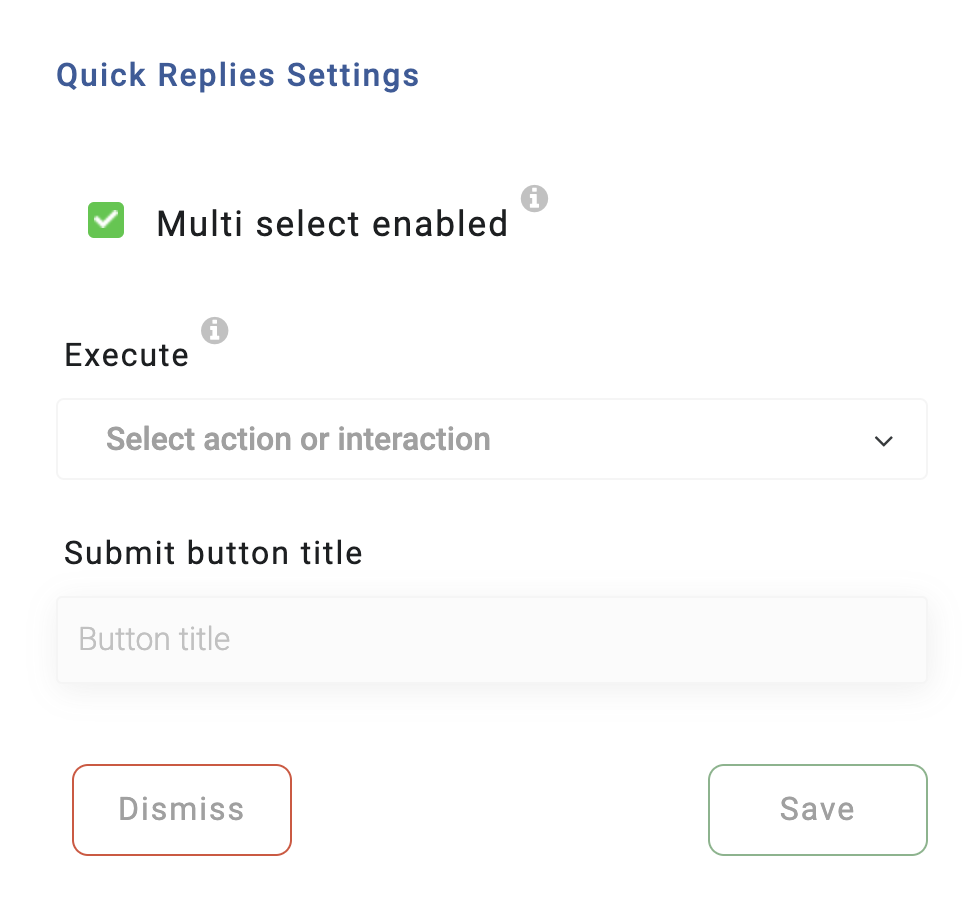
Navigate to the Bots page and create a Message action. Underneath the Quick Replies button, you will now see a gear icon to add the Multi-select option to a quick reply.
Once selected, you will select the next Execute Interaction/action and the name of the Submit button. This Submit button will be displayed and pressed by the user when they are finished selecting all of their options.
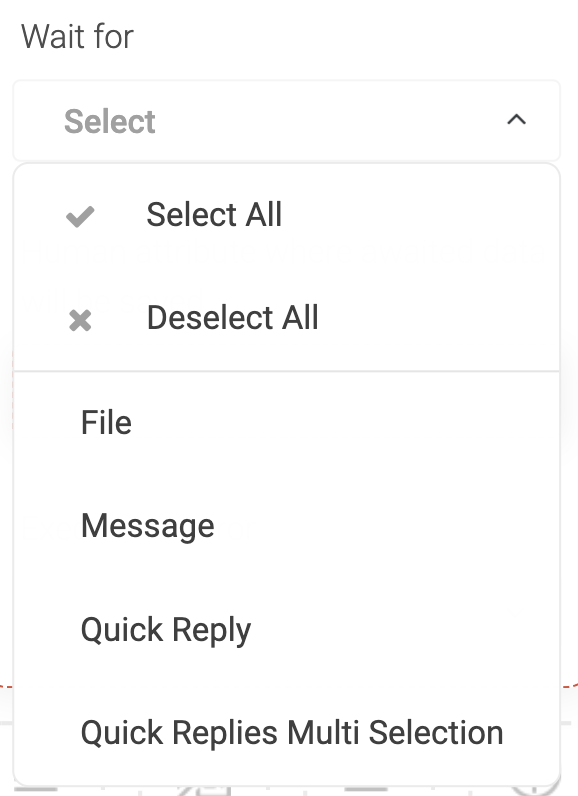
To accept the values in the waitFor action, you have a new option with Quick Replies Multi Selection. This will populate the attribute name with an array of selected values.
Populate Access to nm:index
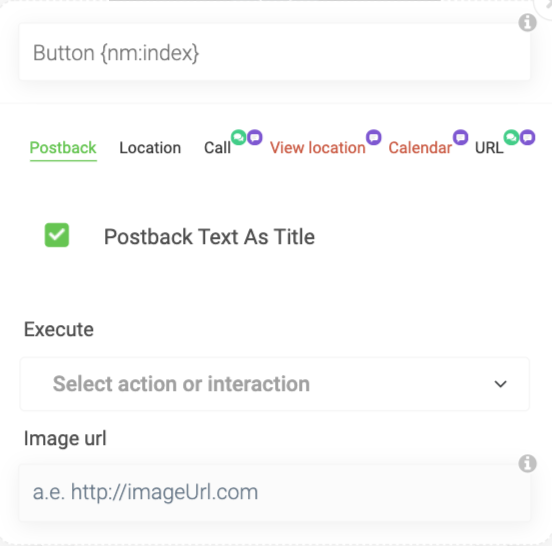
If you are using an array to populate Carousels, Lists or Quick Replies, you can now access the current index in the iteration of the array.
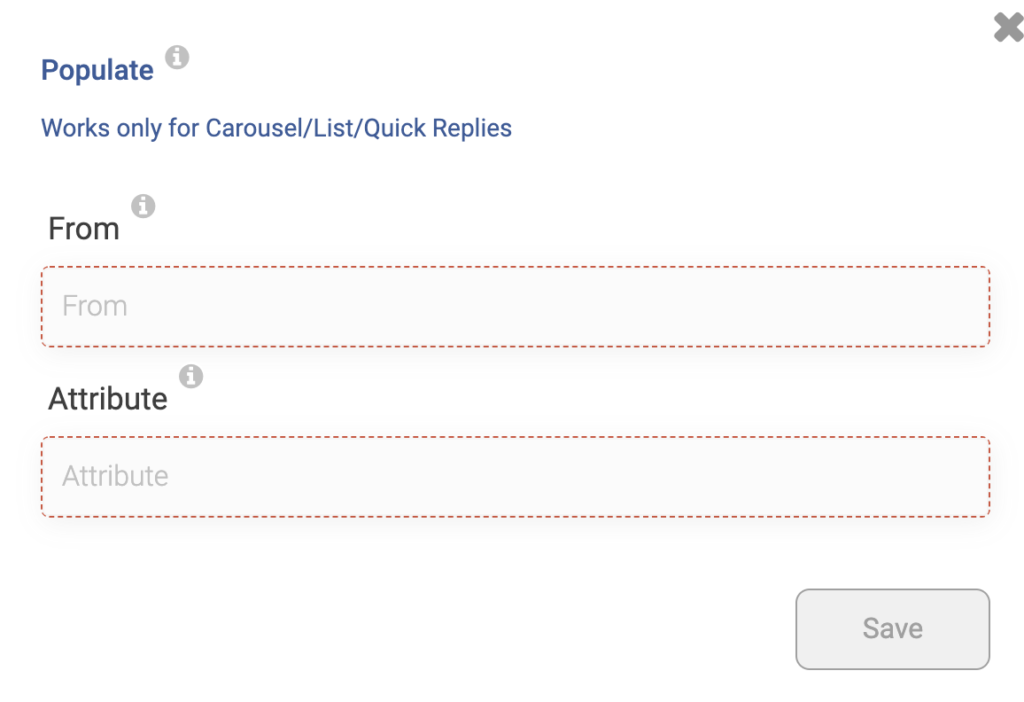
Use the tag {nm:index} inside any attribute of Carousels, Lists or Quick Replies to produce the current index of the array.
Attribute Access to Array Size
You can append “:size” to any attribute array to return the size of the array. For instance, assume we have an attribute named {products} with the json-array, to get its size we should use the attribute {products:size}.
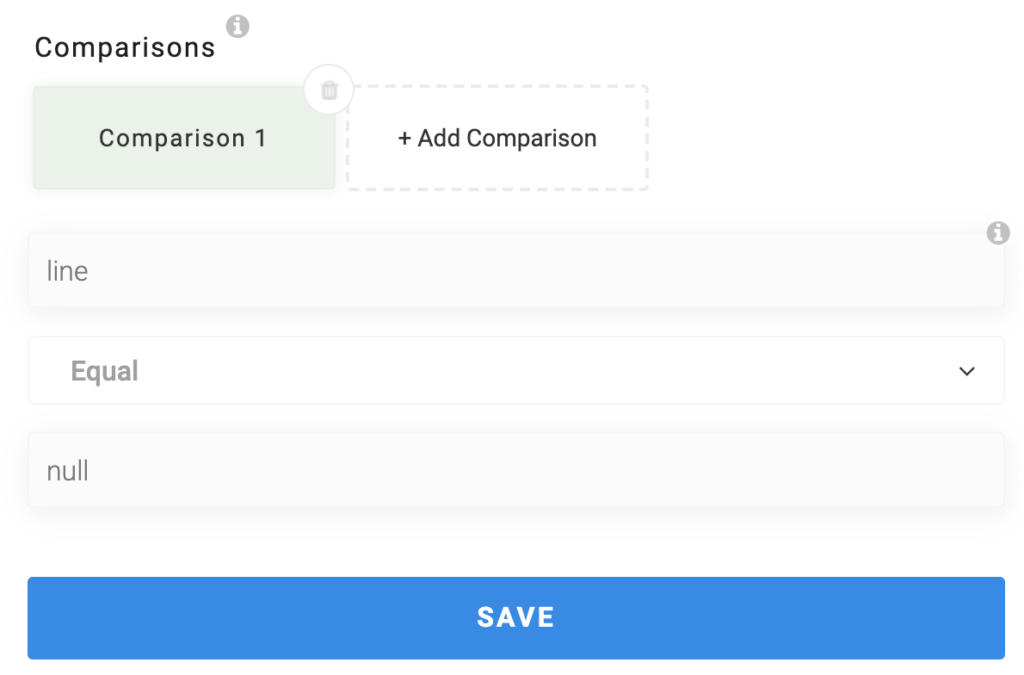
Null in Condition Check
Null is now an available value in a conditional check. Click on Manage Conditions and add a new Comparison for an attribute. Enter the value null in the “value to compare with” field and it will complete the comparison against null values.
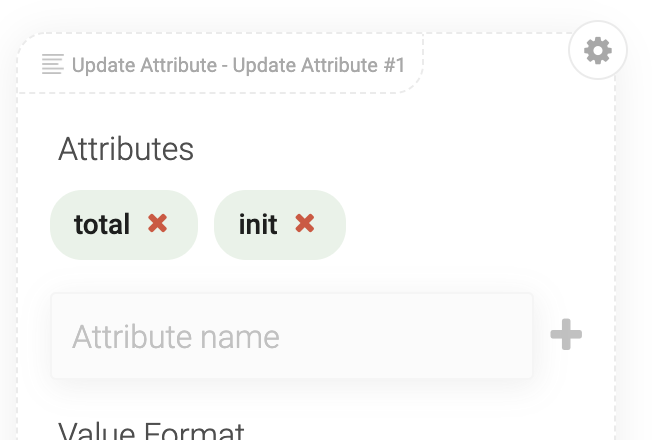
Assign Multiple Attributes in One Action
Setting multiple attributes to the same value just got easier. Now, you can add more than one attribute and assign the same value. This works great for initializing variables or resetting values all at once.
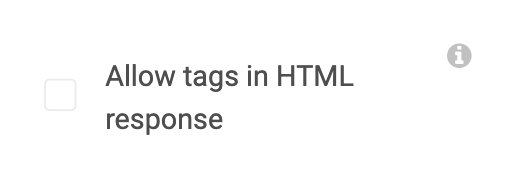
Allow HTML Tags in Request Action Response
If you are using the Request action to make API calls from your bots, you can allow HTML in the response text. Previously, all HTML tags were stripped out. Now, you can toggle this value on or off by checking the “Allow Tags in HTML Response” checkbox inside the Request action. This value is unchecked by default.
New Human Predefined Attributes
We have added a number of accessible Human predefined attributes. You can access any of the following attributes as a tag {} inside your bots.
- nm:rcsEnabled returns a boolean value true or false if RCS is enabled for the device.
- nm:rcsFeatures returns array of features [RICHCARD_STANDALONE, ACTION_CREATE_CALENDAR_EVENT, ACTION_DIAL, ACTION_OPEN_URL, ACTION_SHARE_LOCATION, ACTION_VIEW_LOCATION, RICHCARD_CAROUSEL, PAYMENTS_V1] or empty array [] if no features are supported
- nm:communicatingChannels returns human’s connected channel type name wrapped into array [web]
- nm:subscribedChannels returns the connected channel type name wrapped into array [web] and returns empty array [] in case if not subscribed.